Analog inputs according to the board
What they do: Read an analog input and return a number converted to the range selected in the block. The output range is not the same as the voltage measurement range.
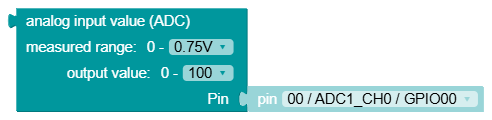
ESP32-C3 (esp32C3_adc)
Input pin specifies GPIO. Measuring range selection offers 0-0.75V, 0-1V, 0-1.3V and 0-2.5V; toggles the ADC attenuation setting. The output range offers 0-100, 0-511, 0-1023, 0-2047 and 0-4095. The generator reads ADC.read() and divides the value according to the selected range.
ESP32-S3 (esp32S3_adc)
Same wiring and output ranges as above. The measurement ranges on offer are 0-1V, 0-1.34V, 0-2V and 0-3.1V. The generator sets the 12-bit reading and the selected attenuation. If you need a voltage instead of a proportional value, use analog input — voltage.
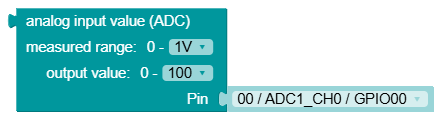
ESP8266 (esp8266_adc)
Reads a single ADC channel ADC(0), so it has no pin select input. You switch the output between 0-100 and 0-1023. Check the allowable voltage of a specific board according to its connection; converting the number to a percentage does not protect the input from overvoltage.
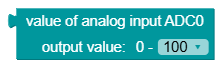
RP2040 and Simulator (RP2040_adc)
The pin input specifies the analog channel. The measuring range is marked 0-3.3 V. You can choose an output of 0-100, 0-255, 0-1023 or 0-65535. The generator starts from read_u16() and divides it by the values 655, 257, 64.06 or 1; it is not an additional restriction of the result to exact limits.

This variant is also used by the simulator. You set the value there with analog slider, not with physical voltage.
Tips and pitfalls
- ADC initialization is being prepared by the generator. pin belongs to analog pin selection, not the measured value anymore.
- Changing the output scale does not change the electrical resistance of the input or the accuracy of the sensor.
- For the general ESP32, the description of base ADC remains valid.